Showing posts with label vegan. Show all posts

Monday, March 4, 2013

Quinoa Taco Salad

In my house, not only are we vegan, but we also have to be wheat/gluten free, and now our daughter  has to be soy and sugar free as well. This can make cooking.....challenging. I have had to do a TON of research (still do daily)  I am constantly trying new things, and try to have an arsenal of quick and easy recipes that I can pull together on the fly. Because guess what? If my day/evening gets crazy, we cant just order a pizza, or drive thru somewhere to grab a quick dinner. *Look for future posts with tips for being plant based and allergen free =)

Right now, we are quite fond of Quinoa. I like to cook up a large batch on sundays to use through out the week.  The other night, it totally came in handy as I through together this super yummy recipe last minute. 

Quinoa Taco Salad

You Will Need:

1 1/2 cups cooked Quinoa
1 can drained Organic Black Beans
1 can drained Organic Pinto Beans 
1 package taco seasoning (I use Trader Joe's Taco seasoning, if I don't make my own. It is one of the only ones that doesn't have gluten or soy in it)
Shredded Lettuce
1 handful of tortilla chips, crushed
Taco Toppings- We used diced avocado, diced tomato, olives, salsa, green onions, bell peppers. You can use whatever toppings you wish, Some Daiya pepperjack or cheddar shreds with a dollop of "Sour Cream" would be great.

1. In a large skillet, heat up the Quinoa and beans. Add Taco seasoning, and cook as directed.

2. Place Lettuce on plates (or in bowls) Place about a cup of 'Taco Filling' on top of lettuce.

3. Add toppings, and finish with a sprinkle of crushed tortilla chips on top. 

4. Enjoy!


Thursday, March 15, 2012

Vegan Irish Hand Pies

Savory hand pies are traditionally filled with meat. If you are reading this blog there is a good chance you want none of that, but still want the savory goodness wrapped in a flaky buttery crust. (hold the butter).


Well this year I came up with a recipe to satisfy your needs. A long time ago I saw a Martha Stewart recipe for the meat version. This is sort of based off of that. But with ingredients added, changed and mixed around a little.


First you need pie crust. There are a million blogs out there on how to make the perfect pie crust. I use the simple ratio - 1 stick of Earth Balance Buttery Sticks : 1 cup flour: tiny bit of ice water. Pulse the Buttery (cut it up first) and the flour in your food processor. Then turn on the processor and slowly add little bits of ice water. When it starts to stick together, you are done. For these pies I also add in salt and fresh cracked pepper to create a savory crust.


Here are some pictures of my process. If you haven't made pie crust before, the number one thing you need to remember is everything needs to super cold. Use ice water and cold cold cold Buttery (keep it in the fridge or freezer between making batches). I made 4 batches. But the recipe I am giving you only needs two. Stick them in the fridge for at least an hour before baking.

While your dough is chilling, make your filling. (ahhh rhyming)


Filling - 
2 cups shredded cabbage
2 cups diced Yukon Golds or red potatoes
1.5 cups diced yellow onion
1 package Original Smart Ground Veggie Protein Crumbles
1/4 cup tomato paste
1/2 tsp Vegan Worcestershire  (we use Edward and Sons)
A good dash of Thyme
Salt
Pepper


Get all your veggies chopped and in a pan with a bit of oil. While they cooking mix your tomato paste, thyme and Worcestershire, in a large mixing cup with 1 cup of water. When your veggies are starting to brown and smelling good, add the veggie crumbles. Get them good and mixed up. Then add your sauce mixture on top and turn the heat down to a simmer. Let it simmer until the potatoes are soft. Turn off the heat, mash it up a bit and then let it COMPLETELY COOL. Otherwise your pie crust will melt.


Once it is cool. Roll out your dough to about 1/4 inch thick. Cut it into 6 inch squares (you can pick a size but I like mine snack sized) or circles or whatever you like. Scoop about a 1/2 cup onto one side of the square and then fold the other side over it. Crimp the edges with a fork and cut some vents in the top. 


Bake at 400° for about 12 minutes. I am going to prep mine and then freeze them until St. Patty's so mine will take about 30 minutes to bake. Remember the ingredients inside are all cooked and ready. So all you need to is get the crust baked. If it looks golden and delicious, they are done.

Thursday, February 23, 2012

Peanut Butter Chocolate Pillows

I made Peanut Butter Chocolate Pillows (a gluten-free version) for a friends going away party. Let me tell ya, they were ugly, but I loved them!!


This awesome recipe is one of the many mouth watering ones found in Vegan Cookies Invade Your Cookie Jar: 100 Dairy-Free Recipes For Everyone's Favorite Treats.


Here is the recipe, but don't forget to check out Post Punk Kitchen's website and if you love cookies you will seriously want to own this book. And this is a really fun one to make with the kiddos.
~~~~~~
Peanut Butter Chocolate Pillows
makes 2 dozen cookies
Chocolate dough:
1/2 cup canola oil
1 cup sugar
1/4 cup pure maple syrup
3 tablespoons non-dairy milk
1/2 teaspoon vanilla extract
1 1/2 cups all-purpose flour
1/3 cup unsweetened dutch processed cocoa powder
2 tablespoons black unsweetened cocoa or more dutch processed unsweetened cocoa powder
1/2 teaspoon baking soda
1/4 teaspoon salt
Filling:
3/4 cup natural salted peanut butter, crunchy or creamy style
2/3 cup confectioner’s sugar
2 to 3 tablespoons soy creamer or non-dairy milk
1/4 teaspoon vanilla extract
In a large mixing bowl combine oil, sugar, maple syrup, non-dairy milk and vanilla extract and mix until smooth. Sift in flour, cocoa powder, black cocoa if using, baking soda and salt. Mix to form a moist dough.
Make the filling. In another mixing bowl beat together peanut butter, confectioner’s sugar, 2 tablespoons of soy creamer and vanilla extract to form a moist but firm dough. If peanut butter dough is too dry (as different natural peanut butters have different moisture content), stir in remaining tablespoon of non-dairy milk. If dough is too wet knead in a little extra powdered sugar.
Preheat oven to 350°F. Line bakings sheet with parchment paper.
Shape the cookies. Create the centers of the cookies by rolling the peanut butter dough into 24 balls. Scoop a generous tablespoon of chocolate dough, flatten into a disc and place a peanut butter ball in the center. Fold the sides of the chocolate dough up and around the peanut butter center and roll the chocolate ball into an smooth ball between your palms. Place on a sheet of waxed paper and repeat with remaining doughs. If desired gently flatten cookies a little, but this is not necessary.
Making the filling with my favorite helper.
We will pretend her hair doesn't always look so messy.
Place dough balls on lined baking sheets about 2 inches apart and bake for 10 minutes. Remove sheet from oven and let cookies for 5 minutes before moving to a wire rack to complete cooling. Store cookies in tightly covered container. If desired warm cookies in a microwave for 10 to 12 seconds before serving.
 So for laughs I am going to show you my the picture in the book vs mine.

.
.
.
.
.


NAILED IT!!!!
(But seriously they were still really good. They taste like a Peanut Butter Cup cookie.)

Monday, February 6, 2012

Supermarket Vegan

I checked this out at the library and much to my chagrin I had to return it today. I bet one of you has the hold on it that won't let me renew. So thanks to whoever you are, I am now anxiously awaiting my copy from Amazon.


It is called Supermarket Vegan: 225 Meat-Free, Egg-Free, Dairy-Free Recipes for Real People in the Real WorldBuy it here!


It is a GREAT cookbook. And I don't mean because the recipes are super decadent. They aren't really. I mean everything is super tasty. But what the main thing is about this book is that it is easy stuff to make, with crap you can find at Winco vs Whole Foods. I like that. I don't always have the time or the money to go to New Seasons. Sometimes I need to go to Target. Bam!! This book has me covered. Need something to give to your parents, who are scared to cook for you because they don't know what agar-agar is, then this is it. Good chance they know what canned artichoke hearts are.


Check it out. It will be a great addition to your shelf.


Sunday, January 29, 2012

Recipe - Potato & Leek Soup

I made this incredibly easy and super delicious soup the other night. It was based on every recipe for Potato & Leek Soup out there. There are really only a few ingredients so I trusted my gut and made it!

Sadly, I didn't take a picture but it looked an awful lot like this soup seen on the Always Order Dessert blog.


This completely Vegan and Gluten-free recipe is sure to warm the hearts of your carnivorous and herbivorous friends alike.

Potato & Leek Soup
1 pound Yukon Gold potatoes - About 3 fist sized ones
2 large leeks 
1 tablespoon canola oil
1 tablespoon Better than Bouillon Vegetarian Base (make it a heaping one)
4 cups warm water
Salt and Pepper to taste

Peel and cube your potatoes. Just chop them to a size that will make them soften up quickly. Boil until they are tender and then drain. Slice up your leeks (white and light green parts) and wash*. In the same pot add the oil and warm it up - so medium heat. Add the leeks and cook until nice and tender. While they are cooking add your bouillon to your warm water. You can use vegetable broth instead, but I love this bouillon.  When you leeks are ready, add water/bouillon mix and potatoes. Bring everything to a boil and then turn the heat down to medium. Like a rapid simmer. When you can see that the potatoes has started to absorb some of the bouillon, turn the heat off. Take your immersion blender and blend in all until smooth. Add Salt and Pepper to taste. Then turn heat back on and bring to a simmer.

Serve with something yummy like Full Sail Amber Ale. You can even put it in a bread bowl if you can eat bread.


*To wash leeks - Slice them up and then put them in a large bowl of water. While submersed, separate all the little rings. Then swish all the little rings around in the water. I basically just use my hand as a big spoon. Then drain the rings in a colander and rinse under water. It seems like a lot of work, but you aren't trying to make you leeks win a beauty contest so you don't have to be ginger and it is worth it. Dirt can get way down into the leeks.

Sunday, January 1, 2012

A New Recipe For The New Year

First off, Happy New Year!

Let's talk food, shall we?  So I have always loved lasagna...well, anything that had a noodle/sauce/cheese combination, honestly. So obviously, being someone that is a celiac sufferer and allergic to dairy, it's not the best choice for me. So I decided to play around in the kitchen, and try to come up with a gluten free/vegan lasagna type dish. What I came up with is everything I wished it would be...and has become a family favorite that we indulge in about once a month. I made this tonight for dinner.  And since you all have been so good, I am going to share the recipe with you ;) One thing to remember-It isn't the most low-fat vegan dish...so add a nice side salad and a steamed veggie for the sides to round it out a little. Enjoy!


Lasagna Bake with Cashew Creme Béchamel

You will need:

1 16oz bag of Brown Rice Noodles (I used Trader Joes Brown Rice Penne)

2 Cups Marinara Sauce (you can make your own, or use your favorite jarred sauce. I used Trader Joes)

1 1/2 Cups Cashew Creme Béchamel (Recipe follows)

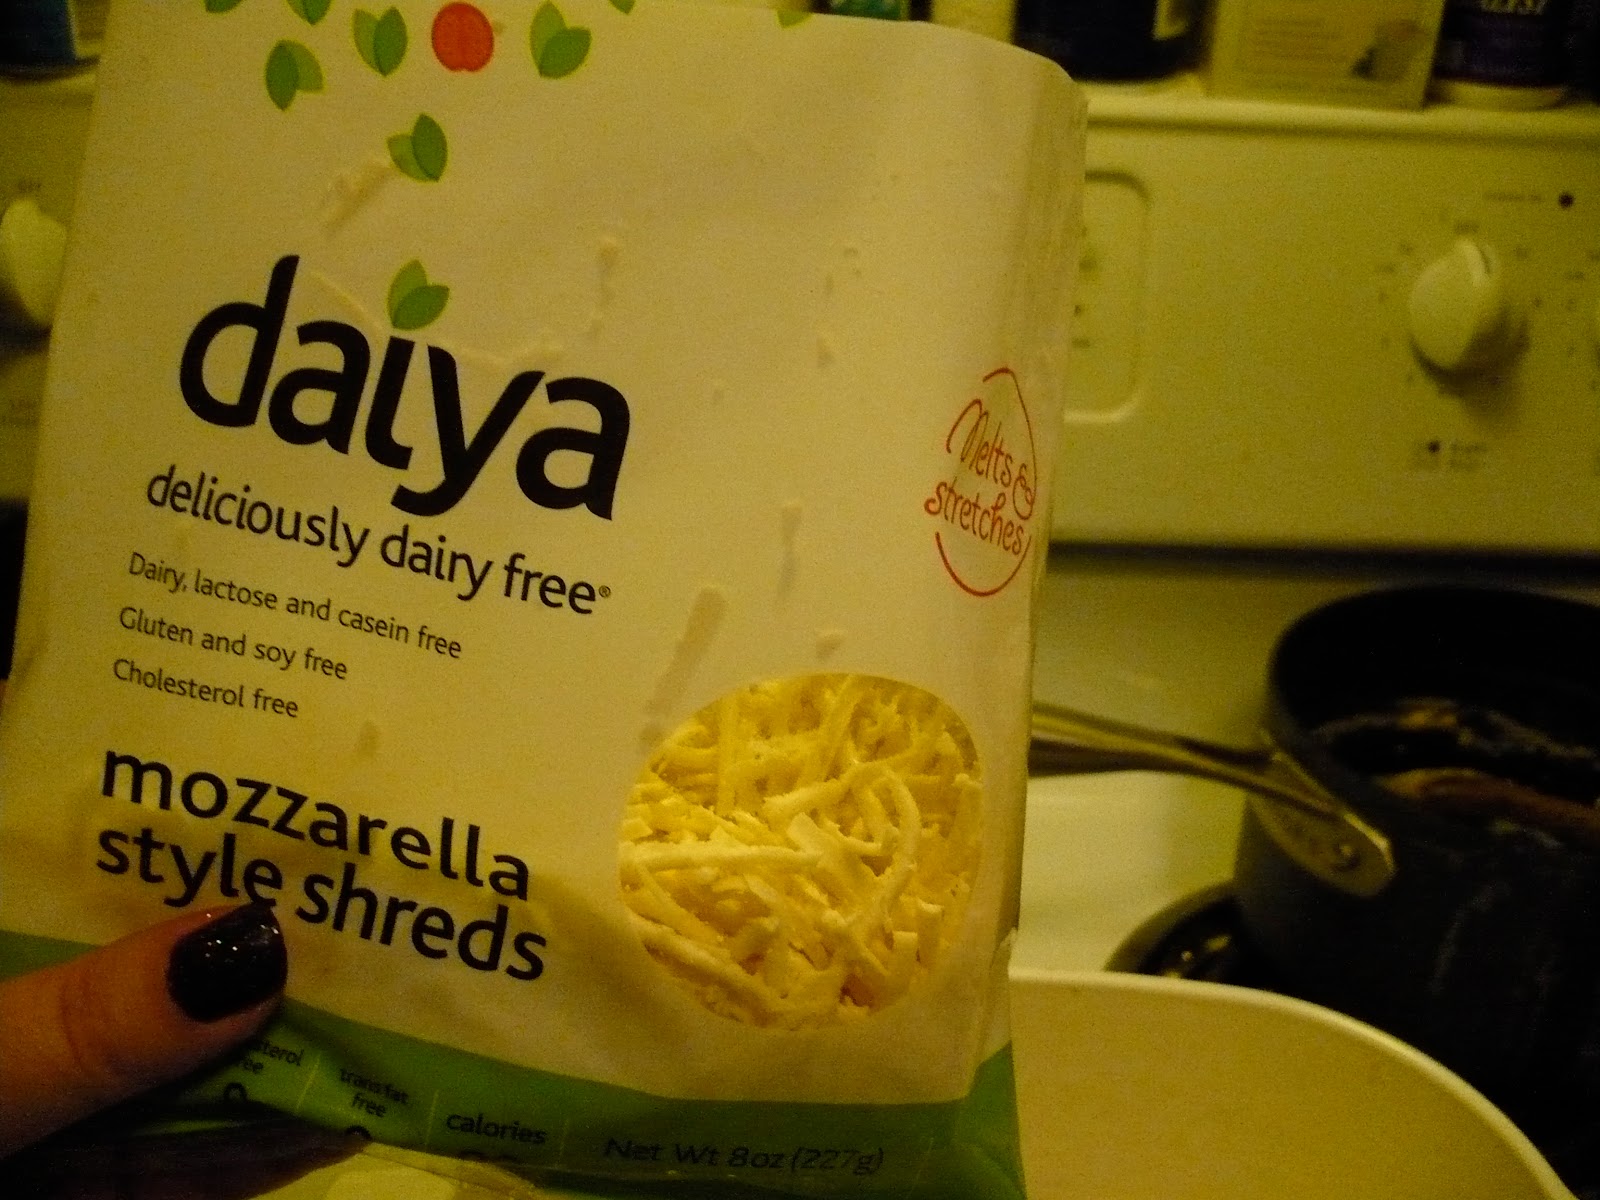
1 bag of Daiya Mozzarella style shreds

casserole dish
Pre Heat oven to 375

1. Boil pasta as directed on package. Drain. Set aside.

2. Heat up Marinara Sauce in pan. 

3. Add pasta to sauce and stir to combine.


4. Take half of pasta and place in casserole dish.


5. Pour Béchamel over pasta. Spread to create even layer.


6. Take half of  'Mozzarella' and layer over Béchamel.


7. Layer the rest of pasta over 'Mozzarella'.

8. Put the remainder of 'Mozzarella' on top.


9. Cover casserole dish and bake for 15 minutes. 


Then uncover and turn broiler on for about 3 minutes to brown the top.

This what you will find when you pull it out of the oven:


Now you can have your 'lasagna' and eat it too ;)


Cashew Creme Béchamel

you will need:

2 cups Cashew Creme 
1 cup Earth Balance Buttery Spread
1 cup non dairy milk (I light to use cashew or hemp milk for this)
salt and pepper to taste

1. Place butter in heated sauce pan. Start to simmer.


2. Add Cashew Creme to butter and start to melt together.
3. Add milk and seasonings. Stir to combine. Bring to boil while stirring.  Cook down until most liquid is gone, and you have a thick consistency.


*(Please excuse the flax seed oil pill bottle and paper towel roll in the back ground...and the fact that I haven't mastered the art of food photography yet)

Friday, December 9, 2011

Cookies!! (a la Babycakes)

I had the lovely Miss Donna over today. (She isn't really a "Miss" since she is suuuuper married) to make some gluten-free (for her) and vegan (for both of us, even though I ate some Cheetos just now - I never said I was a saint, only that I am trying to be one) cookies.

We got the recipe "Chips Ahoy!" out of BabyCakes Covers the Classics: Gluten-Free Vegan Recipes from Donuts to Snickerdoodles. My advice, buy it or do as I did, and check it out from your awesome local library. Or WIN IT! What What? More on that later...


What we discovered was a seriously awesome recipe! 


What constitutes an awesome recipe for me - 
1) It has to be easy. Check (even though you will need some specialty ingredients, so once you get them, then it is easy)
2) I like to eat things right away, so I don't like things that have a long cook time. These took 7-10 minutes. Check.
3) It needs to taste good. Double check.


The only drawbacks were as follows. The dough is kinda yucky. It is really sticky and oily. The chips don't really stay in the dough well and the dough gets all over your fingers and spoon. Like way more than normal. And also since there is a lot of oil, it doesn't taste good (yes, I like my dough to taste good before I bake it. I look forward to licking the spoon) and they probably aren't all that great for your hips. We used canola oil instead of coconut oil. It was an option and I had it in my pantry, so maybe next time I should switch it up.


In the end it didn't matter, because what we ended up with were moist, chewy, and scrumptious cookies that even the most white flour loving, animal-product consuming, cookie aficionado, will groan over.


The lovely Donna

mmmmm